Projects
Getting Started
Introduction
Projects contain files to run backtests, launch research notebooks, perform parameter optimizations, and deploy live trading strategies. You need to create projects in order to create strategies and share your work with other members. Projects enable you to generate institutional-grade reports on the performance of your backtests. You can create your projects from scratch or you can utilize pre-built libraries and third-party packages to expedite your development process.
View All Projects
To view all your projects, open the organization workspace directory on your local machine.
Create Projects
Follow these steps to create a project on Local Platform:
- Log in to Local Platform.
- In the left navigation menu, click the
 QuantConnect icon.
 - If a project is already open, close it.
- In the Open Project panel, click .
- Enter the project name and then press Enter.
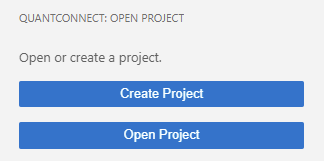

The new project directory is added to your organization workspace directory and the project opens.
Open Projects
Follow these steps to open a project on Local Platform:
- Log in to Local Platform.
- In the left navigation menu, click the QuantConnect icon.
- If a project is already open, close it.
- In the Project panel, click .
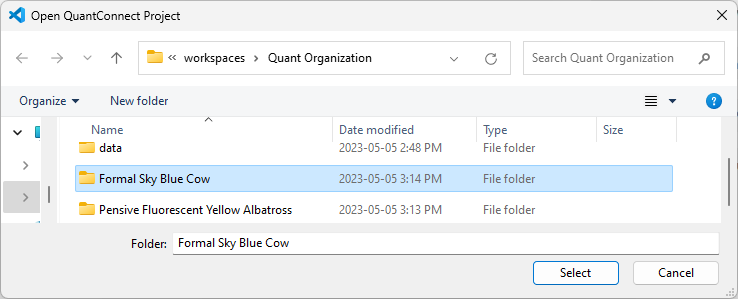
- In the Open QuantConnect Project window, click a project in your organization workspace and then click .
- If an button appears, click it.

Clone Projects
Clone a project to create a new copy of the project and save it within the same organization. When you clone a project, the project files are duplicated but the backtest results and live deployment history are not retained. Cloning enables you to test small changes in your projects before merging the changes back into the original project and start a new live deployment record.
Follow these steps to clone a project:
- Open the project.
- In the left navigation menu, click the QuantConnect icon.
- In the Project panel, click .

The cloned version of the project opens in a new VS Code window.
Rename Projects
Follow these steps to rename a project:
- Open the project.
- In the left navigation menu, click the QuantConnect icon.
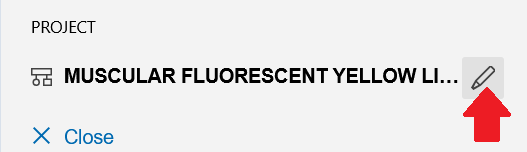
- In the Project panel, hover over the project name and then click the pencil icon that appears.
- In the Name field, enter the new project name and then click .
The project name must only contain -, _, letters, numbers, and spaces. The project name can't start with a space or be any of the following reserved names: CON, PRN, AUX, NUL, COM1, COM2, COM3, COM4, COM5, COM6, COM7, COM8, COM9, LPT1, LPT2, LPT3, LPT4, LPT5, LPT6, LPT7, LPT8, or LPT9.
Set Descriptions
You can give a project a description to provide a high-level overview of the project and its functionality. Descriptions make it easier to return to old projects and understand what is going on at a high level without having to look at the code. The project description is also displayed at the top of backtest reports, which you can create after your backtest completes.
Follow these steps to set the project description:
- Open the project.
- In the Project panel, hover over the project name and then click the pencil icon that appears.
- In the Description field, enter the new project description and then click .
Edit Parameters
Algorithm parameters are hard-coded values for variables in your project that are set outside of the code files. Add parameters to your projects to remove hard-coded values from your code files and to perform parameter optimizations. You can add parameters, set default parameter values, and remove parameters from your projects.
Add Parameters
Follow these steps to add an algorithm parameter to a project:
- Open the project.
- In the left navigation menu, click the QuantConnect icon.
- In the Project panel, click .
- Enter the parameter name.
- Enter the default value.
- Click .
The parameter name must be unique in the project.
To get the parameter values into your algorithm, see Get Parameters.
Set Default Parameter Values
Follow these steps to set the default value of an algorithm parameter in a project:
- Open the project.
- In the left navigation menu, click the QuantConnect icon.
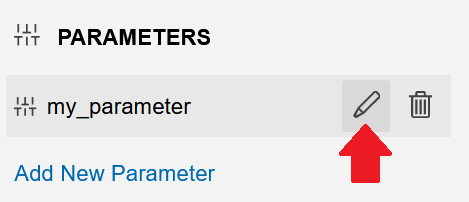
- In the Project panel, hover over the algorithm parameter and then click the pencil icon that appears.
- Enter a default value for the parameter and then click .
The Project panel displays the default parameter value next to the parameter name.
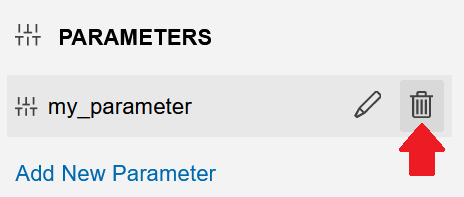
Delete Parameters
Follow these steps to delete an algorithm parameter in a project:
- Open the project.
- In the left navigation menu, click the QuantConnect icon.
- In the Project panel, hover over the algorithm parameter and then click the trash can icon that appears.
- Remove the
GetParameterget_parametercalls that were associated with the parameter from your code files.
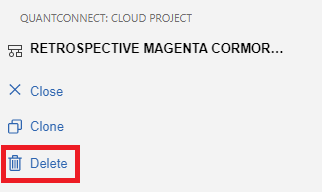
Delete Projects
Follow these steps to delete a project:
- Open the project.
- In the left navigation menu, click the QuantConnect icon.
- In the Project panel, click .
Encrypt Projects
When you save projects in QuantConnect Cloud, you can save encrypted versions of your project files instead of the raw, human readable, file content. Encrypting your projects gives you an additional layer of protection. To use the encryption system, you provide your own encryption key, which your local browser saves to memory. For more information about project encryption, see Encryption.
Get Project Id
To get the project Id, open the <organizationWorkspace> / <projectName> / config.json file and look for the value of the local-id or cloud-id key. An example project Id is 13946911.
You can also see our Videos. You can also get in touch with us via Discord.
Did you find this page helpful?