Organizations
Members
Introduction
Organizations consist of members and members can be part of multiple organizations. The number of members your organization can have depends on the tier of your organization. All members in your organization can access the resources within the organization.
Members can collaborate with other team members by adding them to projects they create. Otherwise, members don't have access to projects in your organization.
If you are the manager of a Trading Firm or Institution organization, you can grant additional permissions to your team members.
View All Seats
You need a seat for each member in your organization.
To see the number of team seats you have in your organization, open the Billing page and then scroll down to the Products section.
Add Seats
You need billing permissions within an organization to add team seats.
Follow these steps to add team seats to your organization:
- Open the organization homepage.
- Click .
- Click the Customize Plan > Build Your Own Pack > Organization Seats tab.
- In the organizationTier Seats section, click the plus icon.
- Click .
View All Members
The Team Management page displays all of the members in your organization. To view the page, log in to the Algorithm Lab and then, in the left navigation bar, click Organization > Members.

To toggle the format of the page, click the buttons in the top-right.
Membership Quotas
The number of members your organization can have depends on the organization's tier. In general, higher organization tiers can have more members within the organization to share resources. This design enables you to upgrade your organization as your trading business grows over time. The following table shows the number of members each organization tier can have:
| Tier | Minimum Members | Maximum Members |
|---|---|---|
| Free | 1 | 1 |
| Quant Researcher | 1 | 1 |
| Team | 2 | 10 |
| Trading Firm | 2 | Unlimited |
| Institution | 2 | Unlimited |
Add Members
You need vacant team seats and team add permissions within an organization to add team members.
Follow these steps to add team members to your organization:
- Open the Team Management page.
- Click .
- Enter the email address of the new team member and then click .
- If you have team edit permissions, select the permissions for the new member and then click . Otherwise, click .
The email you enter should be the email the new member uses to log in to their QuantConnect account.
The Team Management page displays and the new member is included.
On the Add Member dialog you can generate a unique link to invite team members to your organization. Anyone with this link can join your organization.
The new member must switch organization to access its resources and collaborate.
Add Support
Follow these steps to assign support seats to members in your organization:
- Open the Team Management page.
- Scroll down to the Organization Support section and then click .
- On the Support page, click under the tier of seat you want to assign.
- In the section, click the team member field and then select the team member you want to assign the seat to from the drop-down menu.
- Click .
Remove Members
You need team removal permission to remove members from your organization. Before removing members, stop all nodes they are using. Removing members is not reversible and the members will lose access to the organization's projects. On the Team tier, projects that the members created in the organization will remain with the members. On the Trading Firm and Institution tiers, projects that the members created in the organization will be transferred to the organization manager.
Follow these steps to remove members from your organization:
- Open the Team Management page.
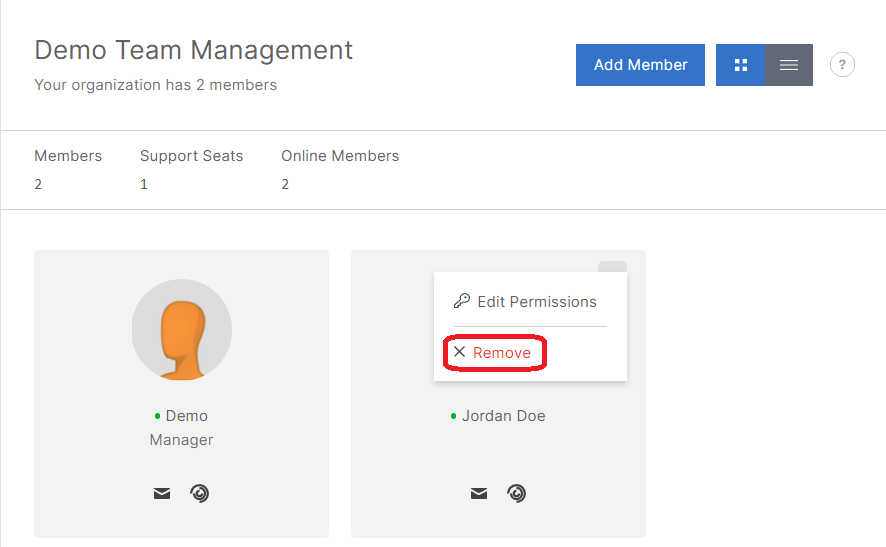
- If the Team Management page is in tile view, follow these steps:
- Click the three dots icon in the top-right corner of the member you want to remove and then click .
- Click .
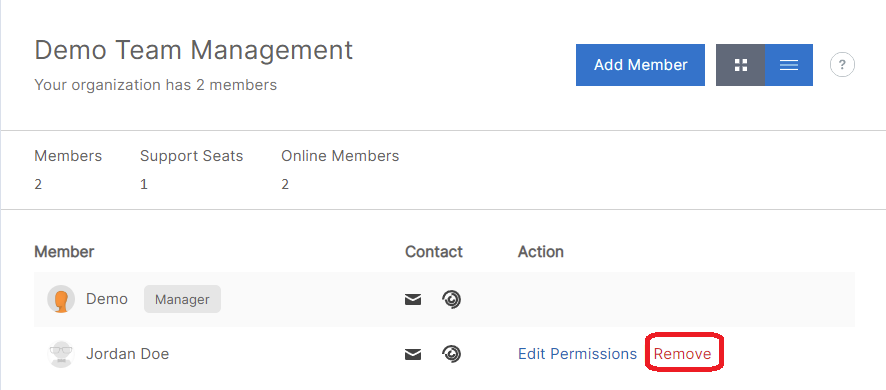
- If the Team Management page is in table view, follow these steps:
- Click next to the member you want to remove from the organization.
- Click .
Permissions
Each member of your organization has access to the resources within the organization. If you are the manager of a Trading Firm or Institution organization, you can grant additional permissions to your team members. There are several categories of permissions.
Billing Permissions
The following table shows the supported billing permissions:
| Permission | Description |
|---|---|
| Update | Permission to change the organization's subscriptions and billing details. |
Stop Node Permissions
The following table shows the supported node permissions:
| Permission | Description |
|---|---|
| Backtest | Permission to stop backtesting nodes. |
| Research | Permission to stop research nodes. |
| Live | Permission to stop live trading nodes. |
To stop active nodes, see Stop Nodes.
Team Permissions
The following table shows the supported team permissions:
| Permission | Description |
|---|---|
| Add | Permission to add new members. |
| Remove | Permission to remove existing members. |
| Edit | Permission to change the permissions of other members. |
Storage Permissions
The following table shows the supported team permissions:
| Permission | Description |
|---|---|
| Create | Permission to write to the Object Store. |
| Delete | Permission to delete data in the Object Store. |
| Billing | Permission to subscribe to more space in the Object Store. |
Edit Permissions
You need team edit permission to edit the permissions of team members.
Follow these steps to edit team permissions:
- Open the Team Management page.
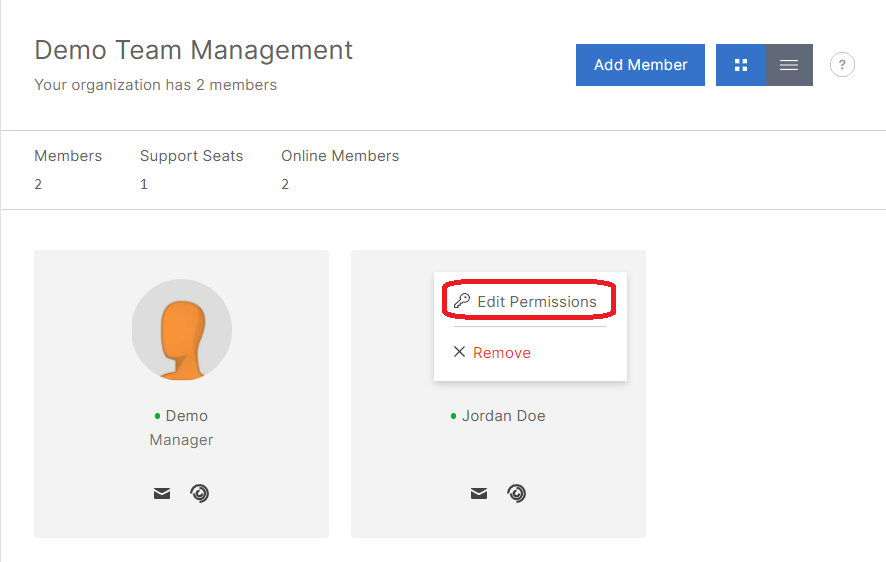
- If the Team Management page is in tile view, follow these steps:
- On the Team Management page, click the three dots in the top-right corner of the member you want to edit and then click .
- Select and deselect permissions as desired and then click .
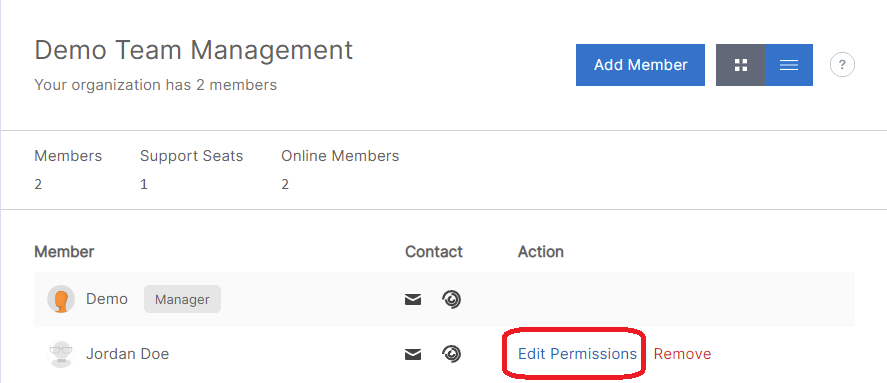
- If the Team Management page is in table view, follow these steps:
- On the Team Management page, click next to the member whose permissions you want to edit.
- Select and deselect permissions as desired and then click .
You can also see our Videos. You can also get in touch with us via Discord.
Did you find this page helpful?